Category Tree
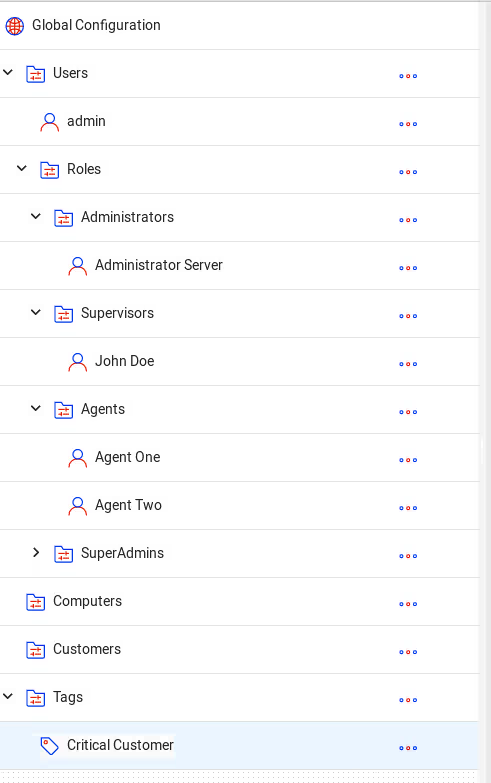
Users and departments are managed in a category tree which allows inheritance for permissions and recording policies. On a clean installation, the Category Tree will be similar to the structure shown in the screenshot below:
System > Configuration

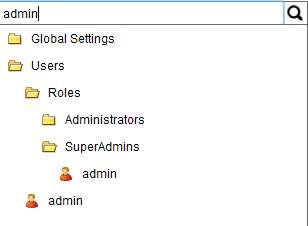
The top search field allows you to quickly search and display only the objects matched by the search criteria.

By default, a pre-defined, logical structure is available, defining several folders and the admin username. Each child entry will inherit by default from its parent, however, any option can be overriden by specifically changing its value from Inherit to something else in the respective Recording Policy or Permissions tab.
The categories may contain three types of objects: folders, users and tags.
The Global Settings is the root object of the tree, and has all its inheritable permissions set to a default. Any child who has an inherit permission (as opposed to an explicit permission set manually) will inherit that permission from its parent. Inheritance calculation goes up the tree until the first explicitly set permission is encountered. This permission will also be the one that eventual children will inherit.
The Global Settings folder acts as a logical fallback for added users or folders that will not have set their permissions explicitly.
The Computers special folder will get populated with computer hostnames that are added to Screen Recorder.
The Customers folder contains all the customers that users create. Customers can be ussed to identify and classify calls, store basic customer info, as well as setting different policies for them.
The Tags folder, groups the various created tags.Tags are used to classify certain calls and can impar different policies to them, behaving simillar to Customer type categories.
Adding new entries
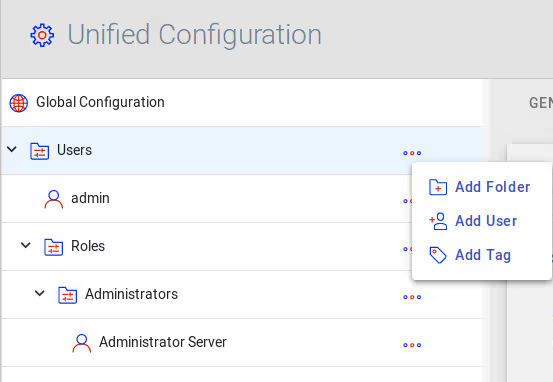
To add a new entry to the system, mouse-over the category under which you want to add the user and click on the icon that pops up, as shown in the below screenshot:

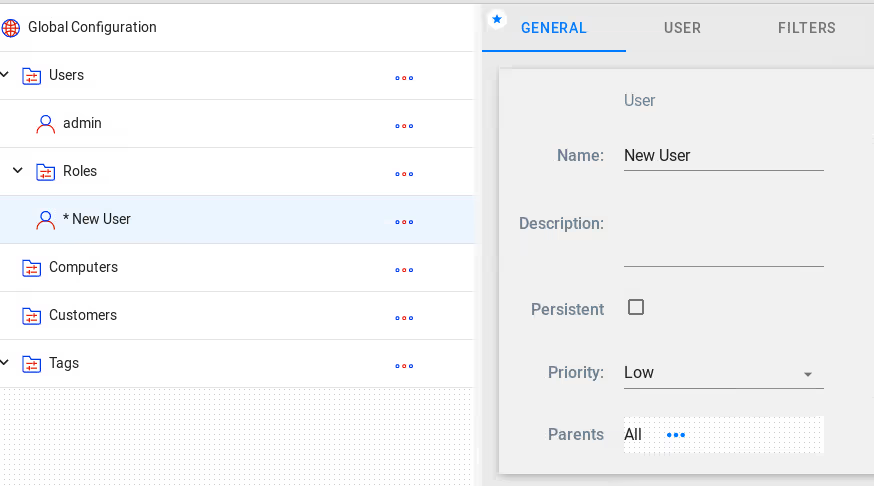
A menu allowing you to add a user, folder or tag will appear. Once you click the desired entry (User, Folder or Tag), the Edit Mode will be enabled, allowing you to fill in the details of the newly created entry:
