Forked Recording
Overview of Forked Recording
Forked Recording (SPANless Recording) is an active recording technology, available only on Cisco CallManager platforms newer than 5.0 and selected Cisco phone models.
Benefits of Forked Recording
Ease of use and management
- Establish complex network architectures not depending on SPAN ports
- Move or reconfigure complete departments with ease
- Improve control over branch locations
Economical
- Reduce OPEX with easier administration as no configuration of SPAN ports is necessary
- Reduced CAPEX – need for fewer elements at the branches
Reliable and secure
- Free-up resources for network monitoring
- Increase reliability utilizing system resources better and more manageable
- Security: Both authenticated and encrypted mode can never be recorded.
- Geo redundancy available with high bandwidth utilization
Additionally
- Internal calls recording = RSPAN, VLAN split to meet SPAN capacity
- Cisco plans support for CUCM 8.x
- Built-in support of recording notification tones
How does it work?
The Cisco Unified Communications Manager (CUCM) interface provides two recording modes:
- Automatic recording of all calls on line appearance. This method is invoked by CUCM.
- Selective recording allowing users to record ad-hoc or also allows recording server to record based on business rules and events.
After calling-in and routing the call to an agent CUCM automatically
sends two call setup messages to the Agent device. The 1st call is the
agent stream and the 2nd call is customer stream. The Communications
Manager invites the recorder to both calls via SIP Trunk and the
recorder accepts both calls and receives RTP streams from Agent device.
Forked recording requires:
- usage of the silent monitoring and recording interface of CUCM
- CUCM version 6.0 and higher
- the usage of 3rd generation phones, as detailed here:
- https://developer.cisco.com/site/uc-manager-sip/faq/supported/
Usage notes
Usage of a SPANless configuration will bring major benefits as long as the following requirements and notes are taken into account:
- The expected increase of network traffic
- For PSTN recording only GW span works as simple trunk recording
- TAP switches are able to handle high traffic in large architectures with centralized GW
- Only 3rd generation phones are supported
- There is no support for active-active redundancy
- Interruptions in recording may occur if a failure occurs during the call
- If the WAN capacity is limited, redundant recording may be refused (due to automated network intelligence)
Further reading: http://www.cisco.com/en/US/docs/voice_ip_comm/uc_system/UC6.0.1/features_apps/CMmonrec.html
Configuration Steps
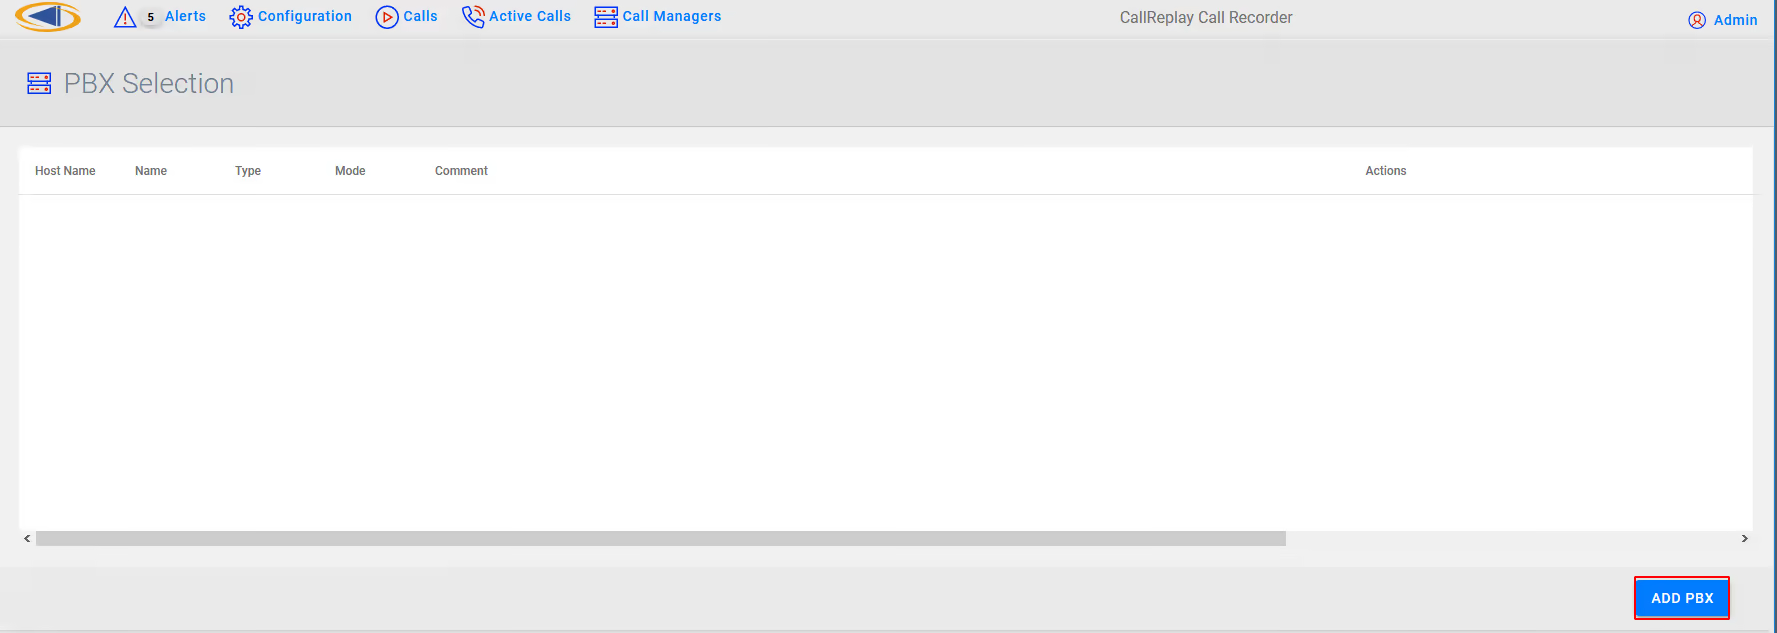
In the Recording / PBXs page, the Forked Recording wizard button appears only when the PBX type is Cisco CallManager, version is greater or equal than 5.0 and the Forked Recording Protocol is selected in the PBX options. In this case other recording protocols should be disabled.
Step 1. Add a new PBX by clicking the Add PBX button.
Menu > PBXs
Step 2. The PBX window appears allowing to edit the PBX settings.
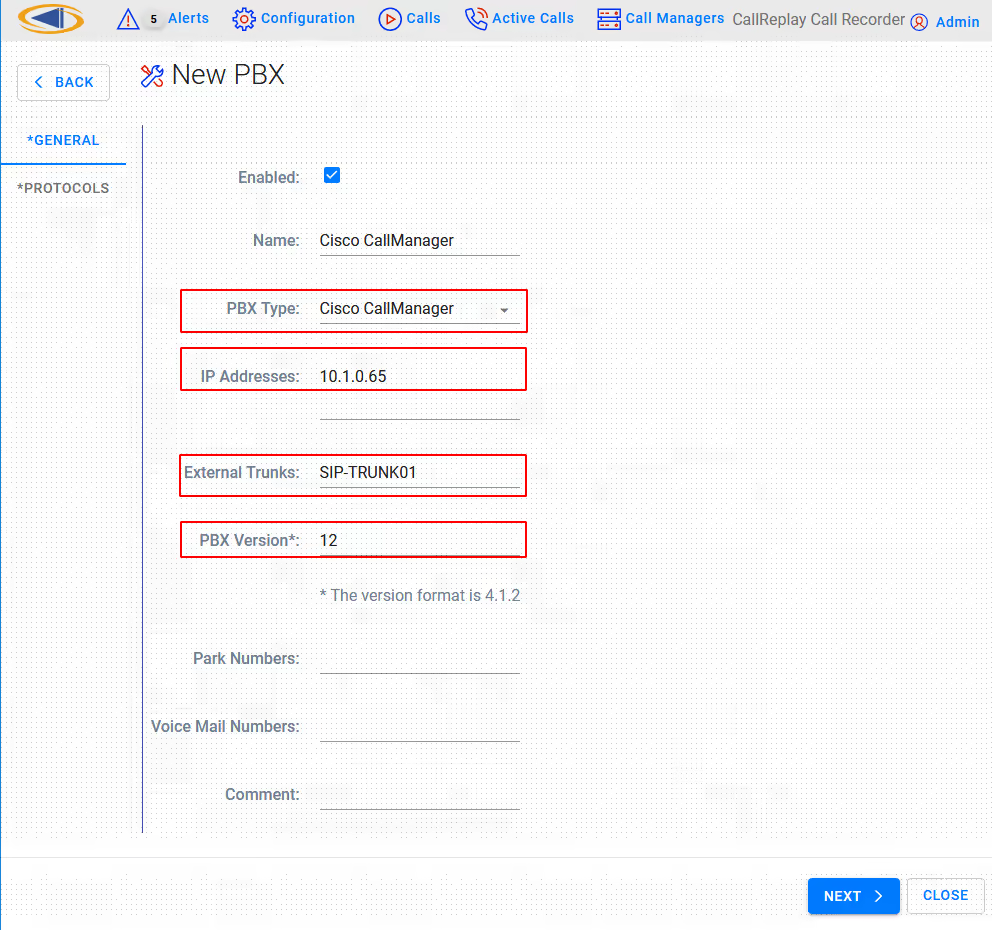
You may need to change the following fields according to the type of PBX:
- PBX Type: This drop-drown list allows the selection of the PBX type, for example CallManager or CallManager Express.
- IP Addresses: The IP address of the PBX. If there are more IPs (for example if you have a cluster) separate the IP addresses by the semi-colon character, or write each address separately on one line.
- External SIP Trunks: The names (not the IP) of your external SIP Trunks. You can enter them one per line.
- PBX Version: The version of the PBX. It is important to insert the correct version using at least the MINOR:MAJOR notation (e.g. 10.5 or 10.5.2 for CallManager 10.5.2). CallReplay takes this version into account when it communicates with CallManager (make sure to change this to the appropriate value when upgrading your CallManager).
- Park Numbers: A list of park numbers. Use the X wildcard to stand for zero or any one digit.
Step 3. Select Next to continue to the Protocols configuration
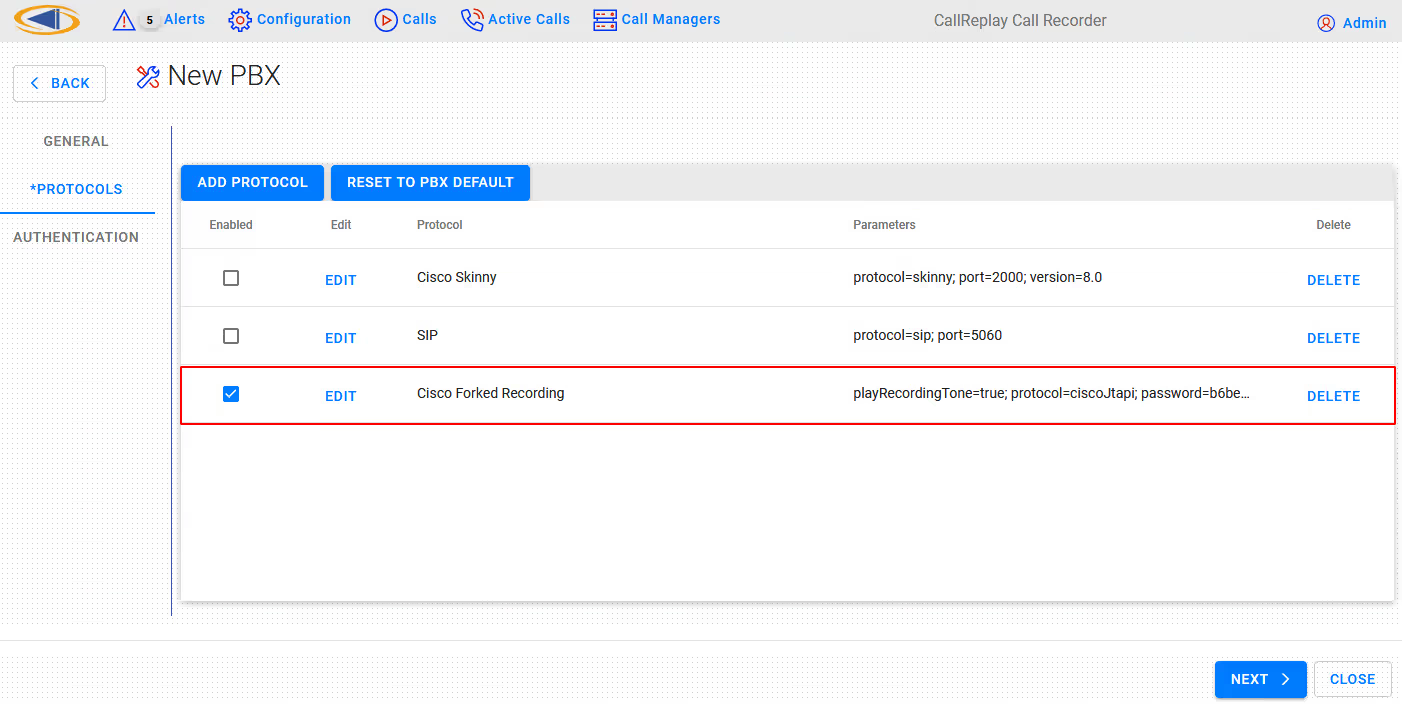
- Protocols: This list should already have Forked Recording enabled. Make sure it is checked.
Step 4 Edit Cisco Forked Recording
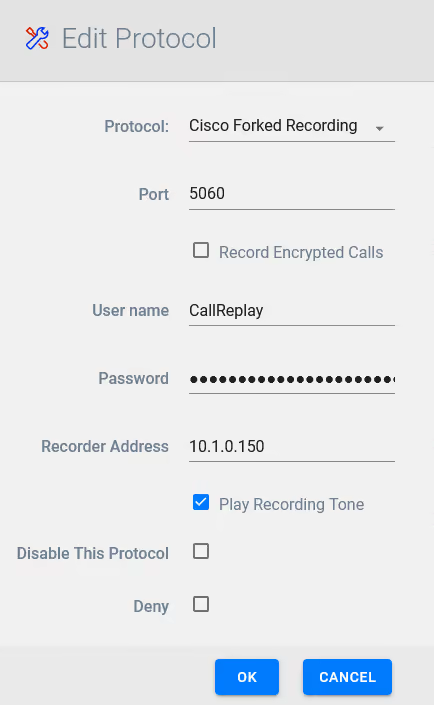
Ensure the password for CallReplay user is set correctly
One the settings are in place click OK and then click the Next button.
Step 5 Confirm CUCM Username and password and confirm Certificate Security
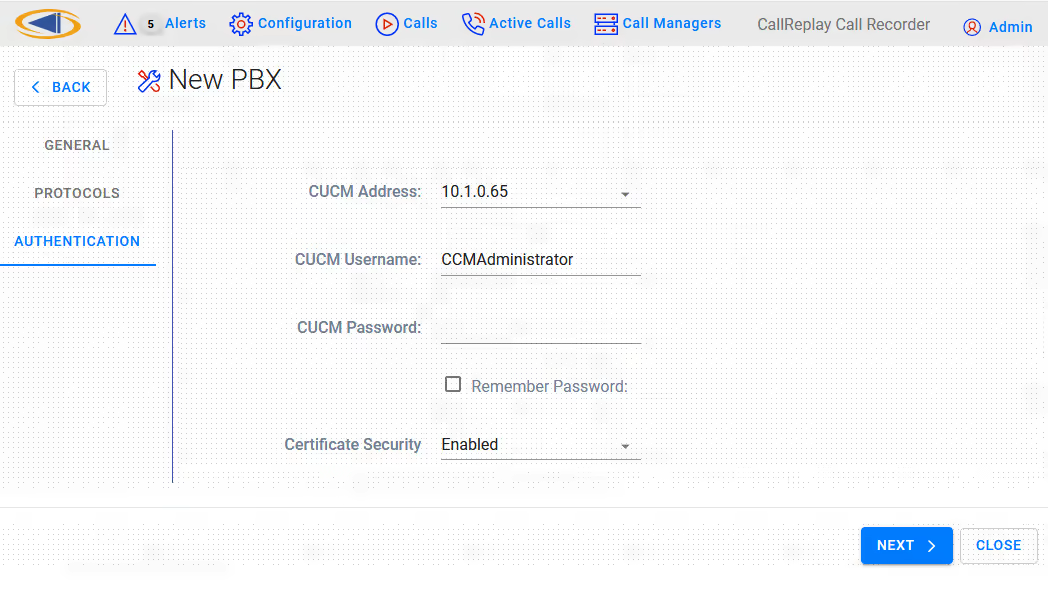
Click Next button to conitnue
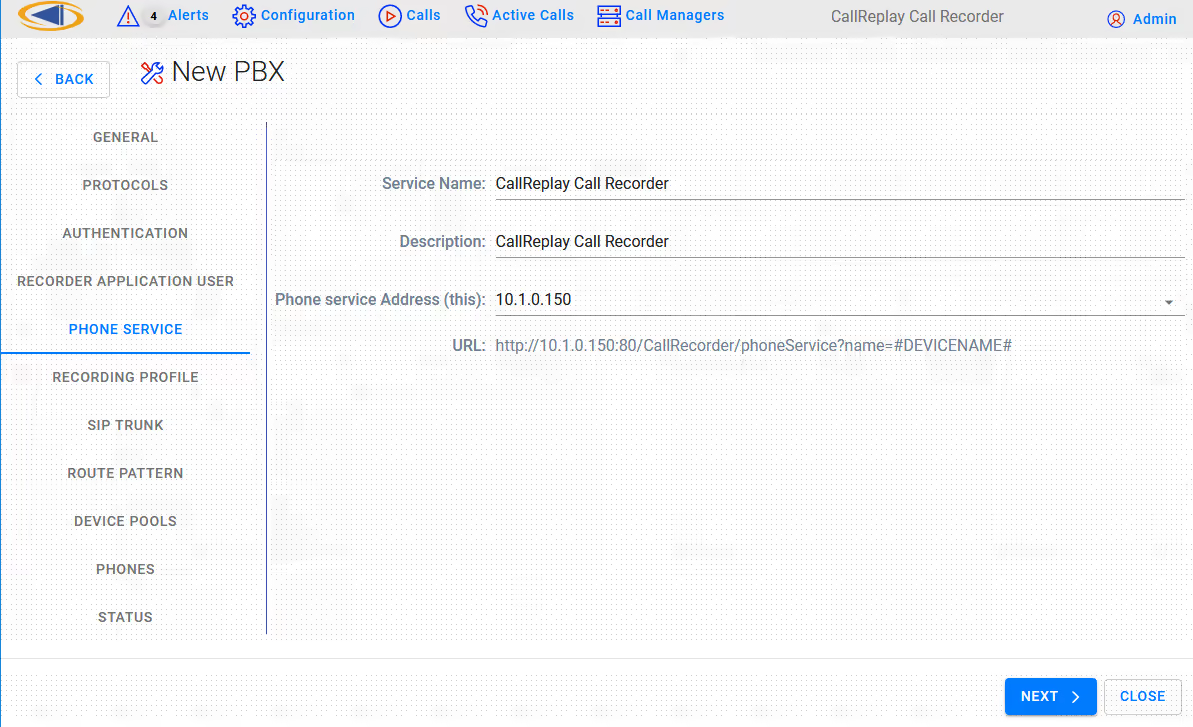
In the next page leave all the fields unchanged unless instructed by technical support. The Phone Service IP address must be routable from the phones' VLAN. Press Next button.
Step 5. Here you must select the correct CallManager Group, Recorder Extension for CallReplay, the IP address of the CallReply recorder ( also needs to be routable from a phone's IP address ), CSS and Device Pool for recorded phones, Security Profile, SIP port of Callreplay ( Syn-Apps' SA-Announce also uses a SIP trunk so make sure in that case to select another port, such as 5061 ) and the RTP port range used by CallReplay for receiving audio streams. The recorder extension must have the same number of digits as recorded extensions.
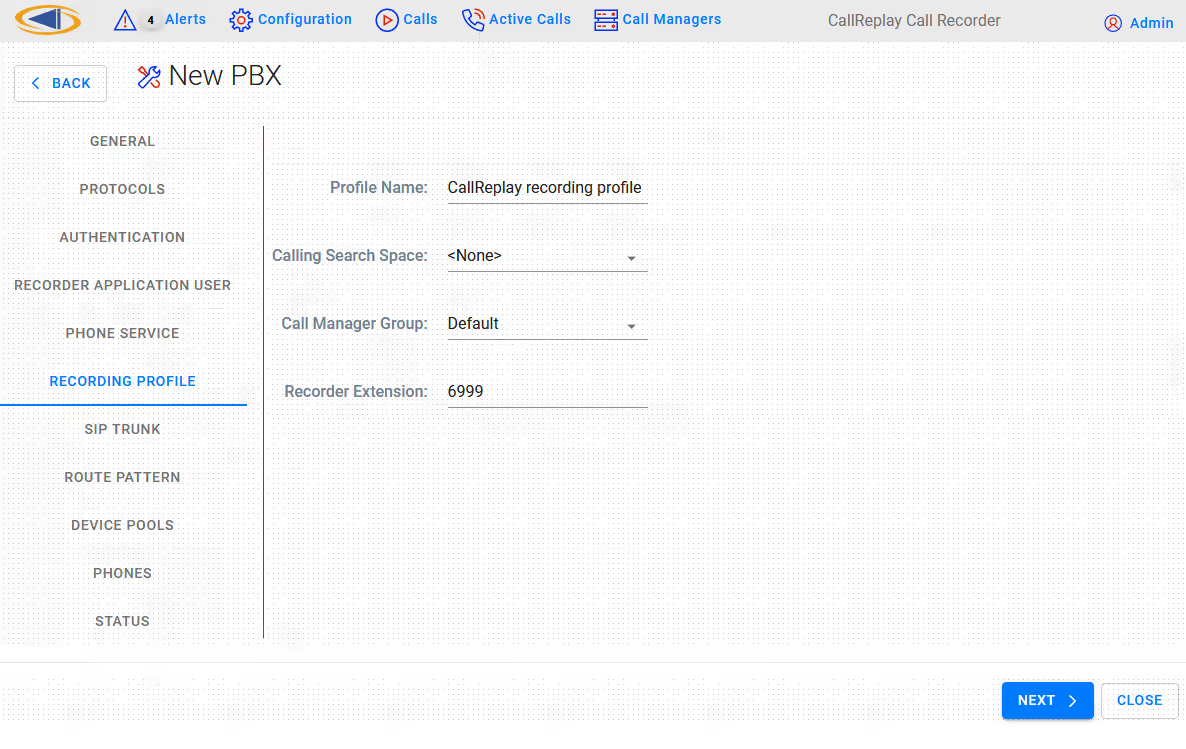
- Recording Profile > Calling Search Space: This is the CSS that will be selected for the Recording Profile. Please use a CSS setting so that the recording trunk phone number is reachable from all the phones which are to be recorded. A quick test would be to call the recording trunk extension from one of the phones to be recorded. The trunk should answer instantaneously and just silence should be heard. A fast busy tone would indicate a connection problem.
- Recording Profile > Recorder Extension: The number that will be used to send SIP invites to CallReplay in order to record. The number of digits for this extension must be the same as the number of digits of the recorded phones.
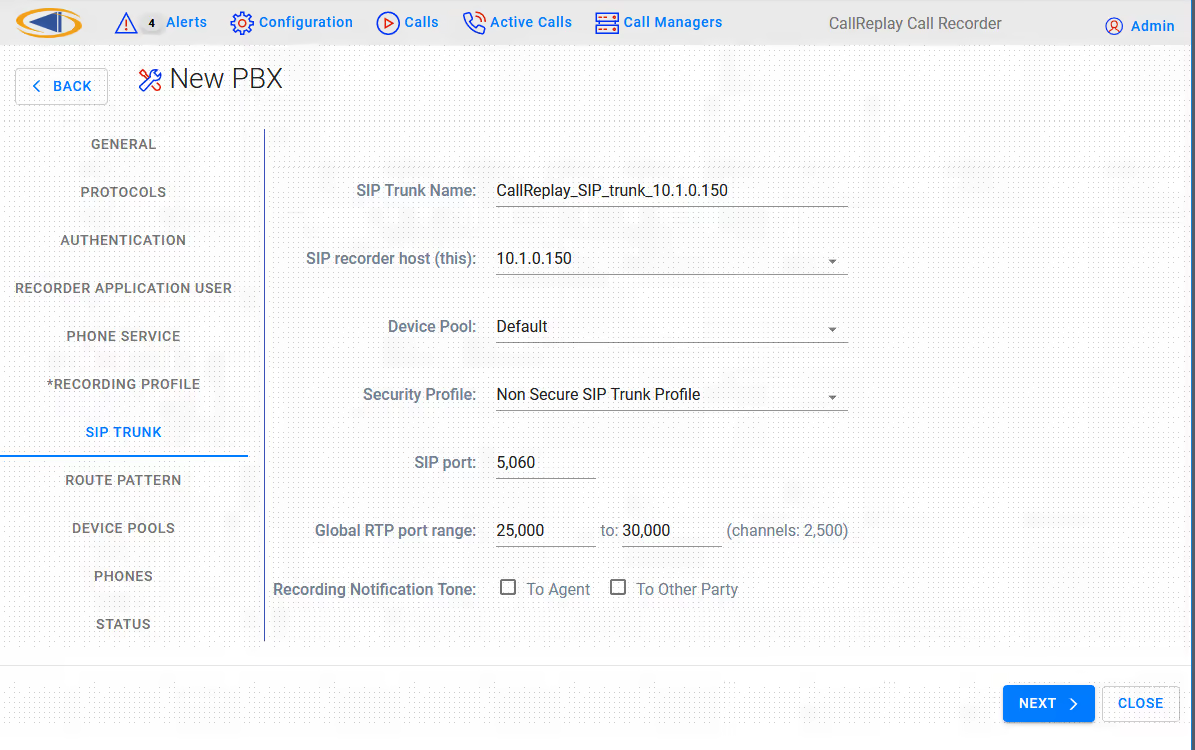
- SIP Trunk > SIP recorder host (this): Enter the IP of the CallReplay machine
- SIP Trunk > Device Pool: Choose the Device Pool that the SIP trunk will be created with. The recorder should be in a DP which matches the physical location of the recording server. It is recommended that a dedicated DP is used for the recorder so that no media transcoding is necessary.
- SIP Trunk > Security Profile: Make sure to select a Non Secure SIP Trunk Profile or a New Non Secure SIP Trunk Profile, this profile will be configured to use TCP for incoming connections.
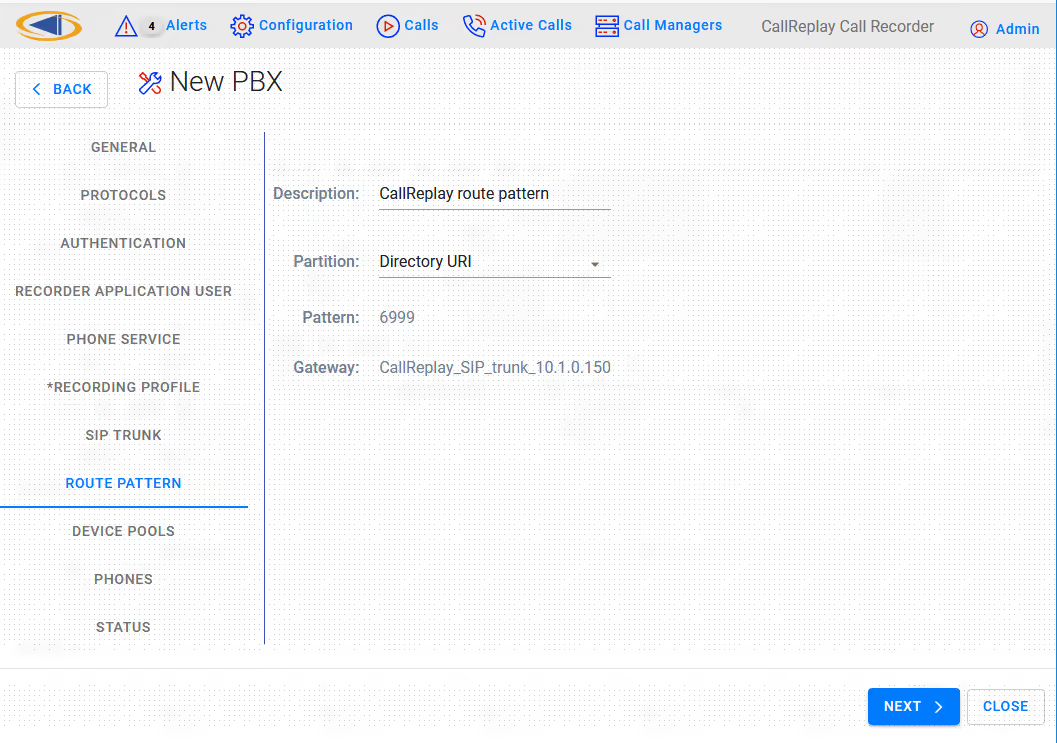
Once the above settings are complete, press the Next button. CallReplay will tell CallManager to create all the profiles (if they already exist, they will be overwritten).
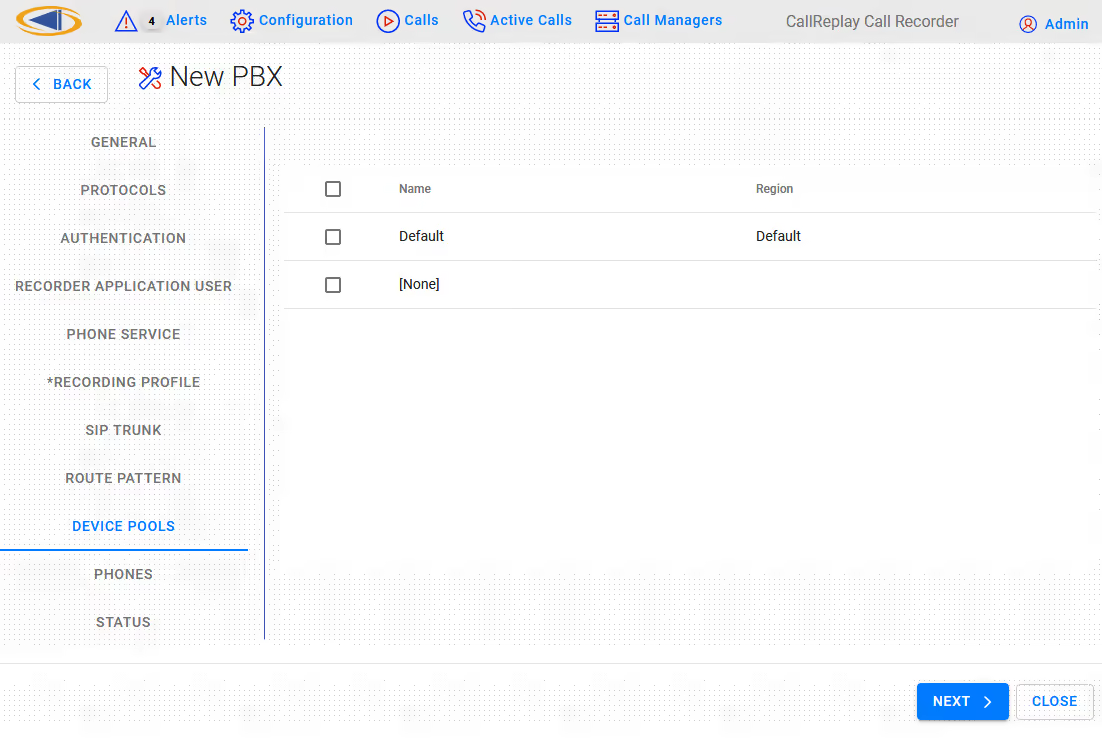
Step 6. In the Device Pools section you can select which device pool to configure. Once you selected a Device Pool, in the next tab (Phones), only the phones in the respective pool will be shown.

Step 7. Here you have a list of a phones to manage. Check all phones to record under Record column. Similarly for Service check box. When that check-box is selected, the phone will be subscribed to CallReplay Phone Service (see step 2), which will become available on the Service button (on the phone). Thus we can control recording and monitoring independently for each phone. You can filter phones by*** *Selected / Unselected (record or service) or by typing some text to search in all columns. Checking Reconfigure all controlled phones will update all phones with current shown configuration, otherwise only changed ones will be updated.

Step 8. Press the Next button and the selection will be processed. The status of processing will be shown.
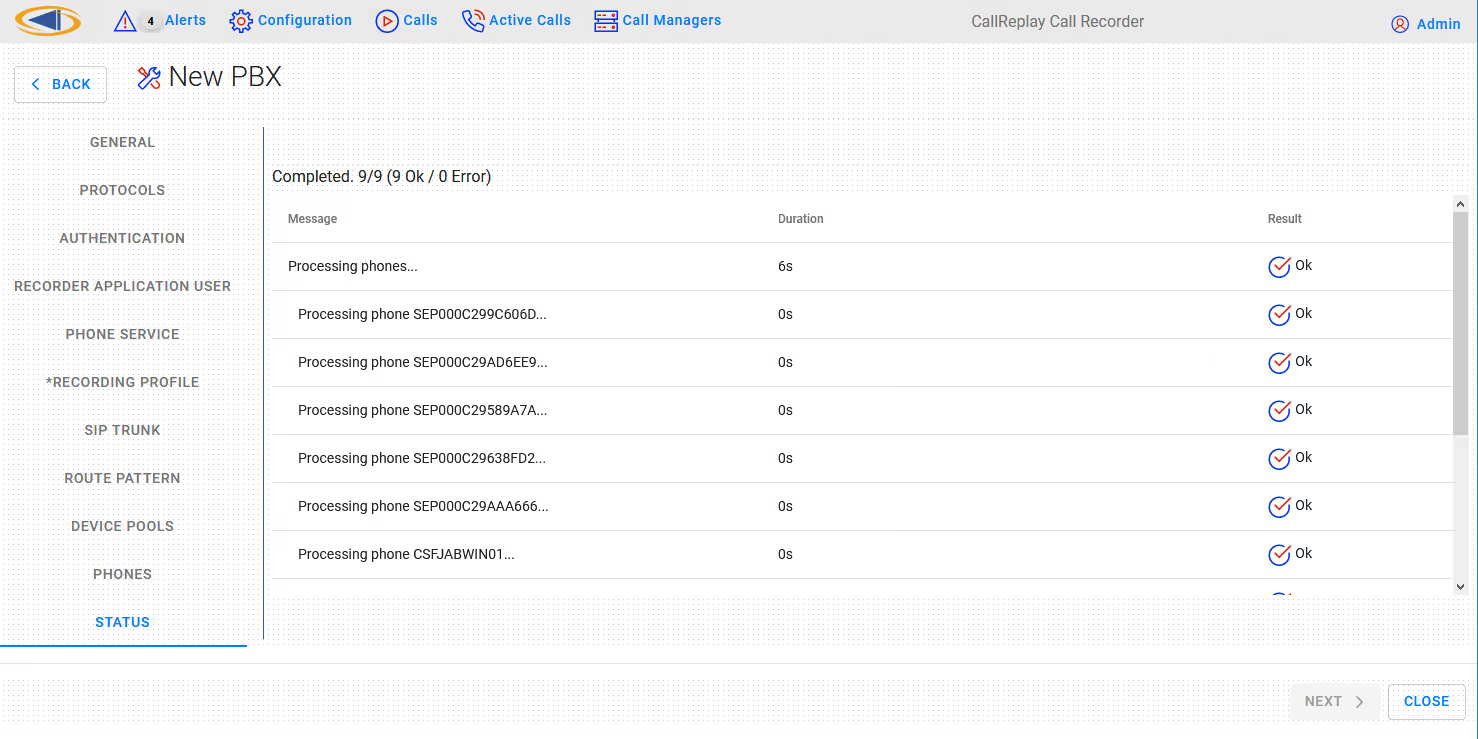
Press the Close button to close the wizard configuration utility.
Cisco CallManager - Alternative/Manual Configuration for Forked Recording
We recommend the usage of CallReplay Forked wizard for configuring your Cisco CallManager. But if you do not want to use this feature follow these steps to prepare your Cisco CallManager for recording.
1. Recording phones using forked
You need to create by hand an application user - CallReplay, a new SIP profile - CallReplay SIP profile, a recording profile - CallReplay recording profile and a new trunk - CallReplay_SIP_trunk.
CallReplay Application User
In CallManager site administration go to User Management > Application User. Press the Add New button and fill in the text fields as follows:
Application User Information
User ID*: CallReplay
** Password**: password
Confirm Password: password
** Presence Group***: select* Standard Presence group*
Device Information
Add from the list of Available Devices to the list of Controlled
Devices the phones who will be recorded.
If you use EM profiles then add from "Available Profiles" list
to the "CTI Controlled Device Profiles" list the EM profiles who will
be recorded.
Permissions Information
** Groups**: press *Add to User Group *button and in list shown
subscribe to the following groups: Standard CTI Enabled, Standard CTI
Allow CallRecording, Standard CTI Allow Control of Phones supporting
Connected Xfer and conf and Standard CTI Allow Control of Phones
supporting Rollover Mode
Press Save button to create the application user.
CallReplay SIP profile
In CallManager site administration go to Device > Device Settings > SIP Profile. Press Add New button and fill in the Name* with value CallReplay SIP profile. Save the changes
CallReplay recording profile
In CallManager site administration go to Device > Device Settings >
Recording Profile. Press Add New button and fill in the text fields as
follow:
Name*: CallReplay recording profile
Recording Calling Search Space: select a CSS
Recording Destination Address*: xxx - the extension used by
CallRecorder. The value must be an unassigned EXT and having the same
number of digits as recorded extensions. If extensions in your network
have 3 digits then this value must have 3 digits too.
Save the changes.
CallReplay SIP trunk
In CallManager site administration go to Device > Trunk and press Add
New button to define a new trunk. Fill in the text fields:
Device Information
** Device
Name***: CallReplay_SIP_trunk_xx.xx.xx.xx where xx.xx.xx.xx is
the IP of CallReplay server.
Device Pool*: select the device pool where the recorded
phones are registered
SIP information
Destination Address: the IP of the CallReplay server
Destination Port: the port where CallReplay is listening (
default value 5061 )
SIP Trunk Security Profile*: select security profile
accordingly
SIP Profile*: select CallReplay SIP profile ( created
before )
Save the changes.
2. Subscribe phones to the CallReplay Call Recorder Phone Service
Create CallReplay Call Recorder phone service
In CallManager site administration go to Device > Device Settings >
Phone Services and press Add New button to define a new phone service.
Fill in the text fields as follow:
Service Name*: CallReplay Call Recorder
** ASCII Service Name***: CallReplay Call Recorder
Service Description: CallReplay Call Recorder
Service
URL: http://IP:PORT/CallRecorder/phoneService{.external-link} (
you can get these values from CallReplay Site Configuration );
Service Category*: select XML Service
Service Type*: select *Standard IP Phone Service *
Enable: True
Save the changes.
Subscribe devices
In CallManager site administration go to Device > Phone and perform the
following operations:
-select a device;
-select from Related Links dropdown list
option Subscribe/Unsubscribe Service and press Go button;
-in the new windows select CallReplay Call Recorder service
-press Next and after that* Subscribe* button;
-close the window;
After the phone reset the CallReplay Phone Service becomes available
for use.