This is the multi-page printable view of this section. Click here to print.
Install and Setup
1 - Installing on Windows
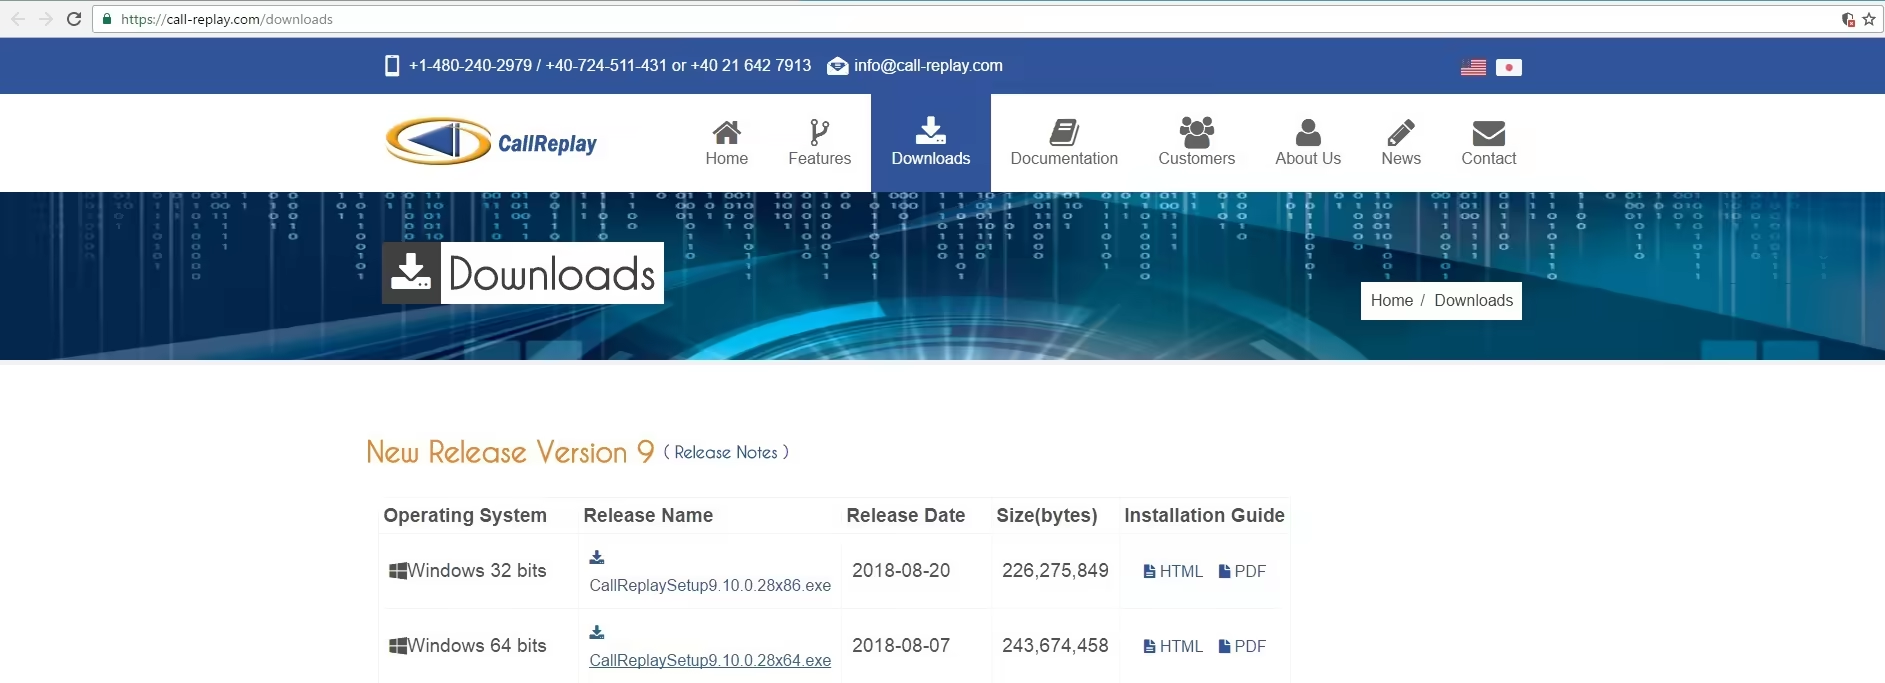
You can download the latest version of CallReplayTM from the CallReplay Download website. Earlier versions of CallReplay can be found at the same location.
To install CallReplay v.10 you need to download and run CallReplaySetup10.0.0.xx.exe
Please refer to Specifications and Requirements sections before launching the installation kit.
Install CallReplayTM
The installation is straight forward and the package contains everything is required by the system to run without any further intervention. Just follow the screens.
Welcome Screen
- Check if the setup version you are running is the latest available from our web site.
- Launch the setup executable
- Select a language and OK
Make sure you have read the Requirements chapter before proceeding further.
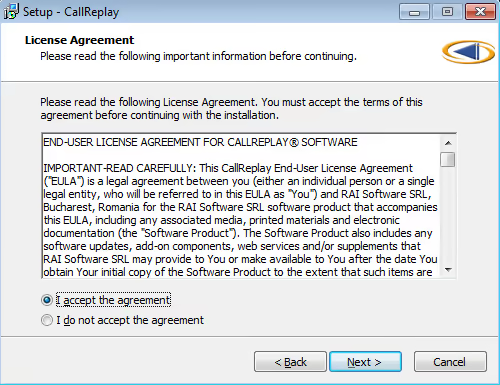
License Agreement
- Click "I Accept" if you agree with our license. You may not use the software if you do not agree.
- Click Next
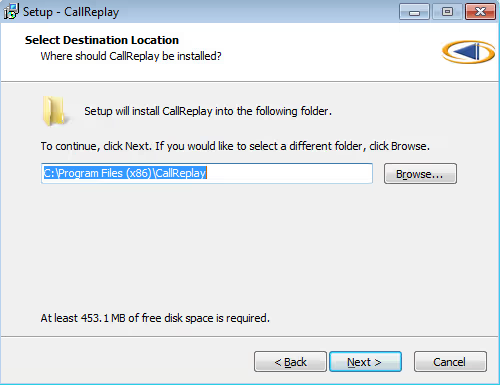
Destination Folder
- Select the destination folder for the application binaries (calls are stored separately);
- Click Next.
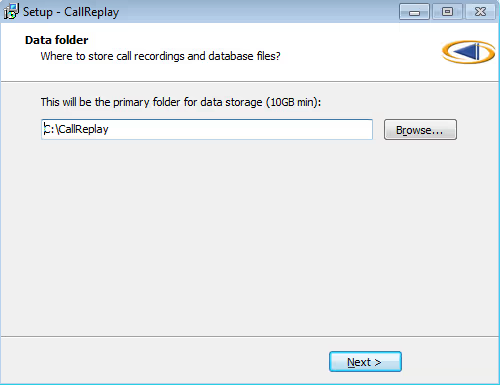
Data folder for storing call recordings and database files
This is the folder where all the user data, including audio files, the database, logs and licenses will be stored. Please select the disk with the maximum available free space. Use a RAID protected disk for this folder.
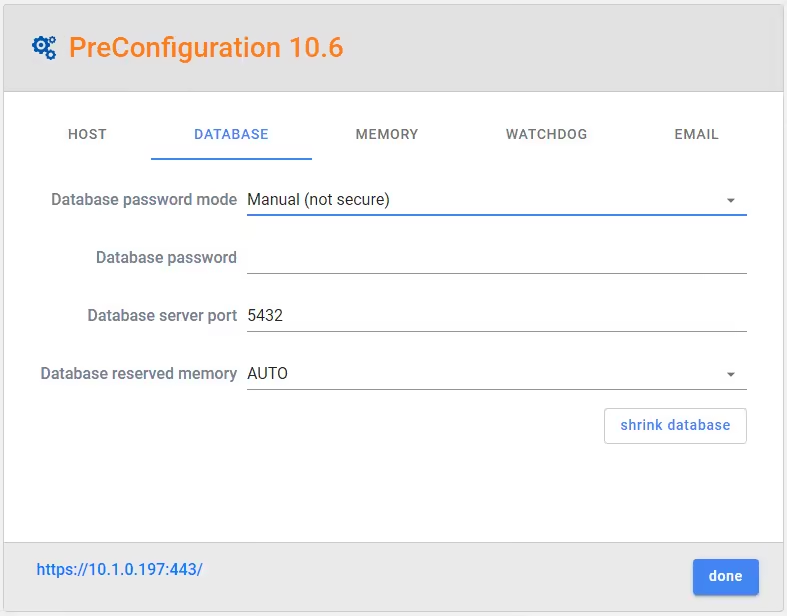
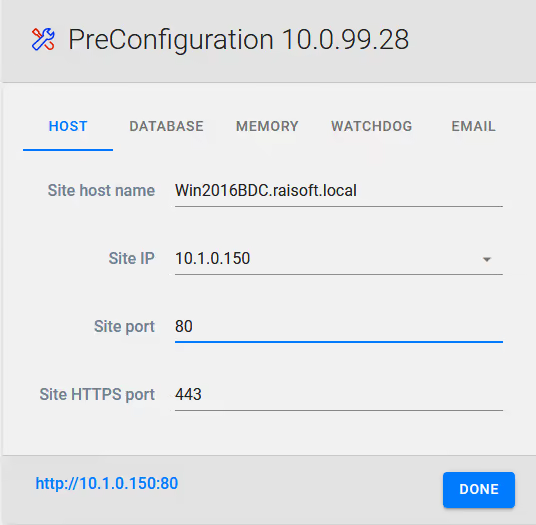
PreConfiguration
At the end of the setup, the Site configuration application will launch
the PreConfiguration web page to assist configuring of the name/IP and
port of the administration web site.
The IP of the website is also used for licensing purposes.
You can select the minimum version of TLS protocol to use in securing the web interface and services of CallReplay from. v1.0 to v1.3 are available, to allow for backwards compatibility, especially with old phones.
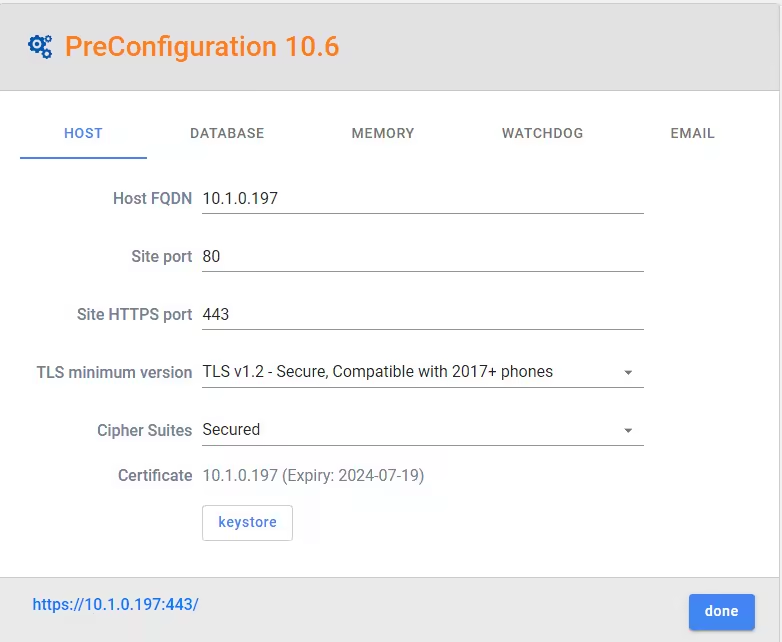
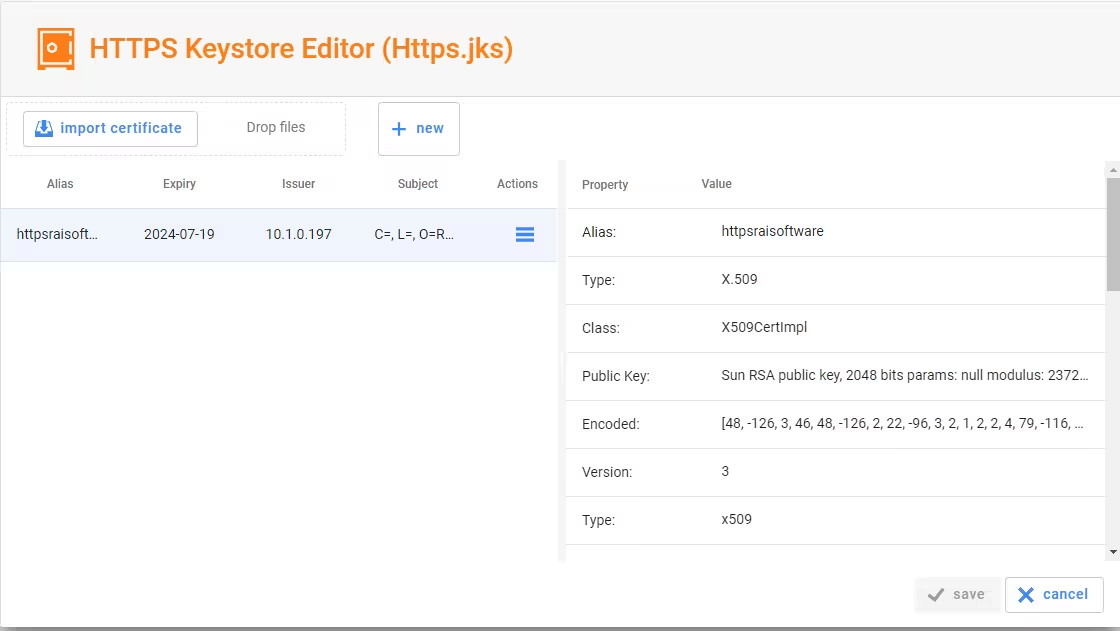
Next, open the keystore page, where you can add a new self-signed certificate, or import an existing certificate, if you wish.
Note: if you use a self-signed certificate, the CA will contain the declared FQDN so if it changes, you will have to reissue the certificate..
Press done to start the administration web site.
Database Setup
The default setting for the database password is Automatic (system controlled), so if you need direct acces to the database, you will need to set it on manual and input your password.
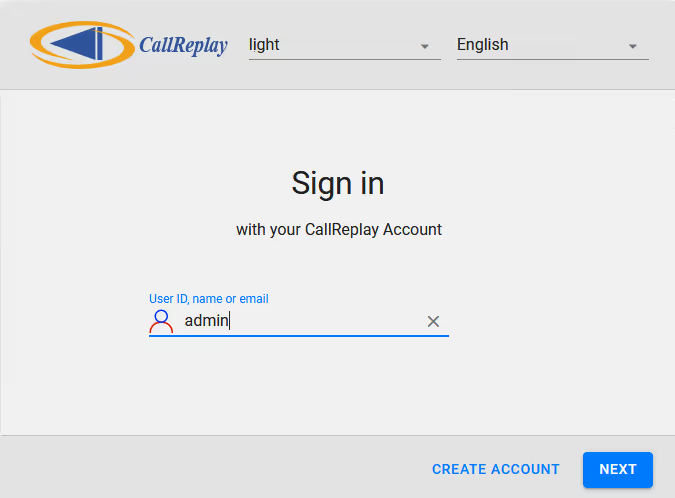
Login page
Enter the user name and password. When running with an evaluation license, this page always displays the name of an administrator and a public password "eval" which works for every user.
2 - Firewall Setup
Please use the below table as a reference for setting up your firewall rules, according to your security policies.
| Port number/range | Transport | Direction | Port description and usage |
|---|---|---|---|
| 443 | TCP | Inbound | Https Web Interface |
| 21 | TCP | Both | Default FTP port for CDR verifier and sending logs |
| 2000 | TCP | Inbound | Cisco Skinny |
| 5060 | TCP | Both | Default SIP trunk |
| 5061 | TCP | Both | Default Secure SIP trunk |
| 4456 | TCP | Inbound | IPTrade default port |
| 25000-30000 | UDP | Both | RTP voice streams |
| 389 | TCP | Outbound | Default LDAP port for login integration |
| 5432/5433 | TCP | Both | Default PostgreSQL ports |
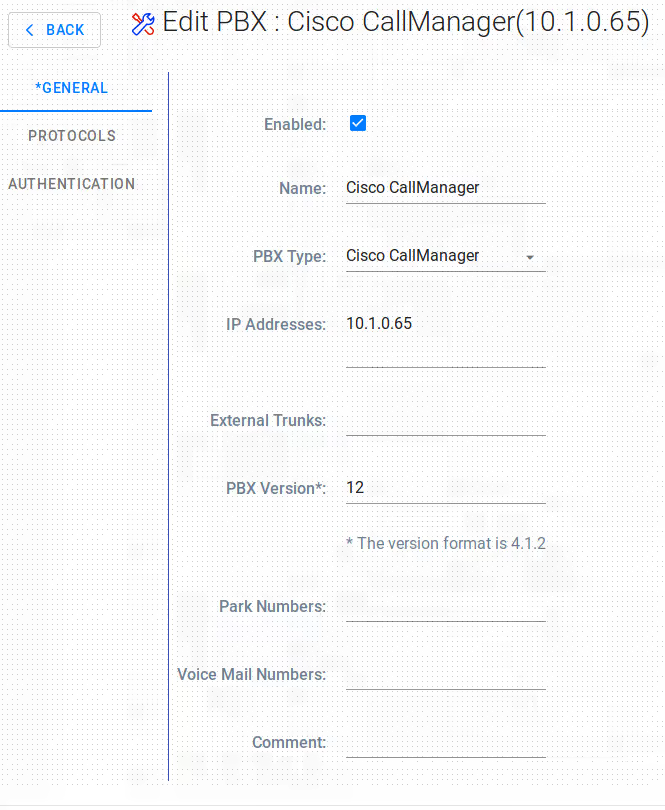
3 - Upgrading CUCM
After upgrading CUCM to a newer version, follow these steps:
- Update CUCM version ( PBXs page -> press Edit button on the upgraded PBX -> update **PBX Version **field )
2. If forked recording is active on the upgraded CUCM, re-run
the forked wizard by pressing
the  button on the required
PBX, from PBXs page grid view.
button on the required
PBX, from PBXs page grid view.
4 - Migrate To A New Server
When you want to move your existing installation to a new server but preserve all data, please follow the steps:
I. Easiest Procedure
- On the old server, shut down the CallReplay and CallReplayDb services and set their Startup Mode to Disabled.
- Copy or move the CallReplay Data Folder (by default, C:\CallReplay) to the new server. The CallReplay Data Folder is configured once at installation time and contains the sub-folders Database, Calls, Licenses, Logs, etc.
- Then run CallReplay Setup on the new server. When asked about the Data Folder to use, point it to the copied folder containing old data.
- After setup completes, you should be able to see the old calls and play them.
- Cleanup the old server. Do not start the old server again after the license was re-activated on new server.
Note: The Data Folder in Linux is the /var/lib/callreplay/
directory.
Things to take into consideration after the migration:
Forked PBX Reconfiguration
After the migration you may need to run the Forked PBX configuration
again, and make sure that:
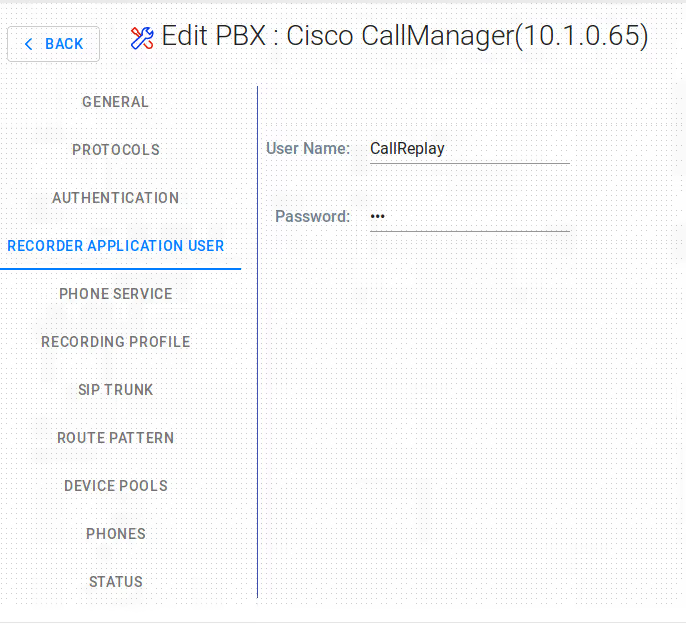
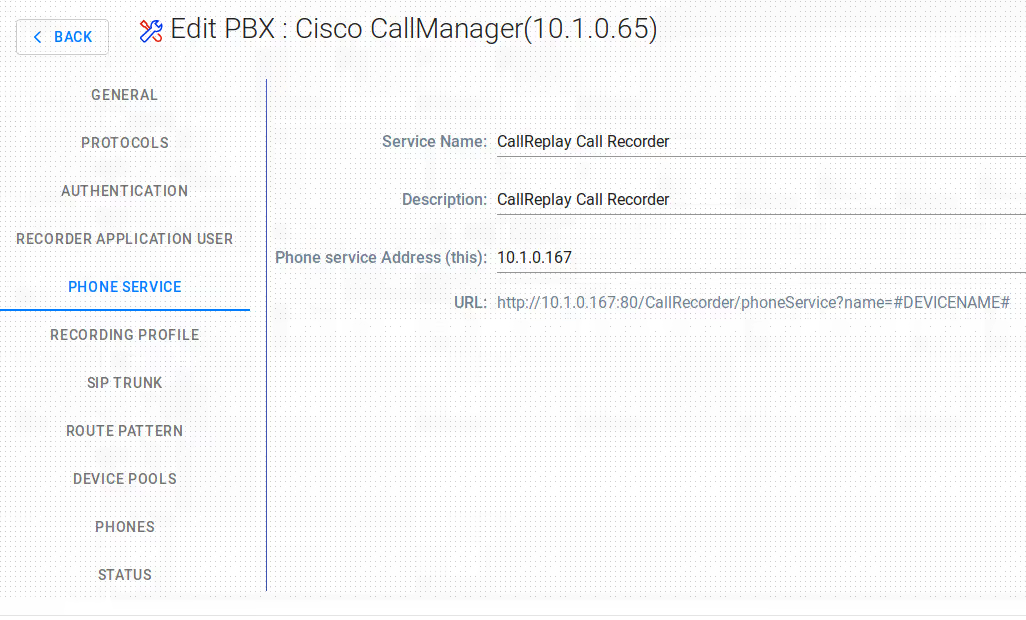
* Under the Auth & Service tab, make sure you modify the Phone
service Address (this) field, and fill it with the IP of the new
machine:
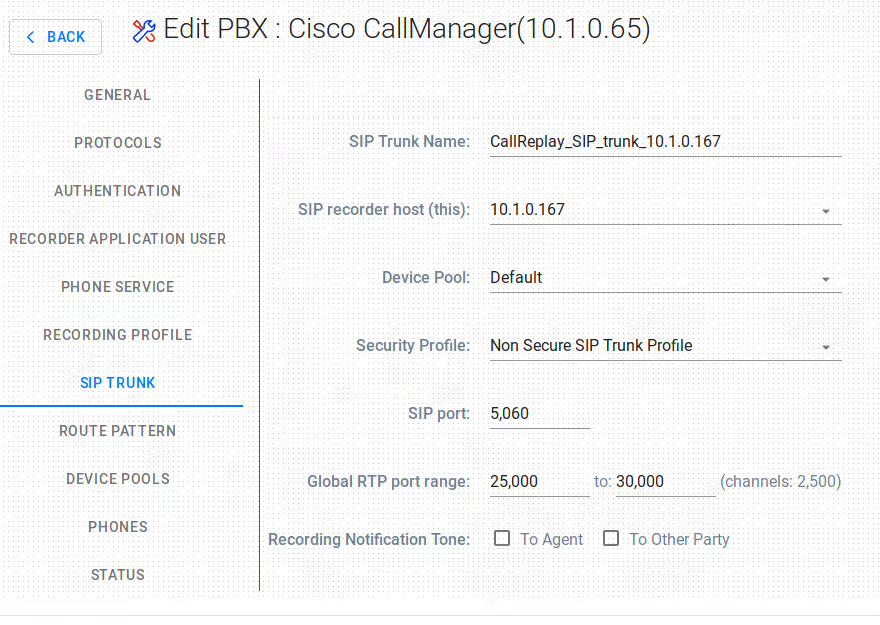
* Under the Recording Trunk tab, make sure you fill in again the Device Pool and the Security Profile fields (if they were reset):
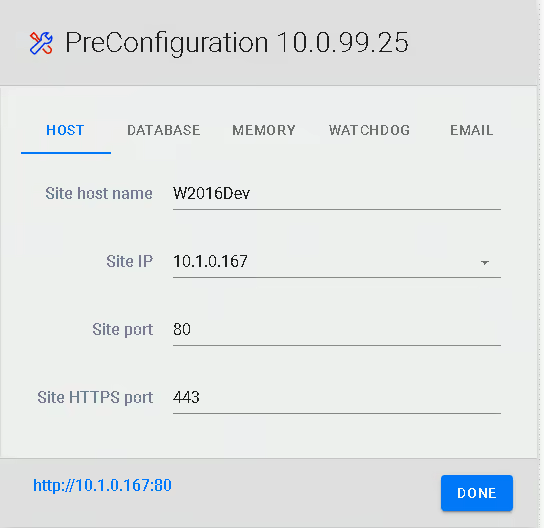
Different IPs for the Old Server and New Server
In case you migrated between machines with two different IPs, you may
need to run the CallReplay Site Configuration again (from the Start
menu), and make sure you update the Site Host Name and Site IP
entries with the new values of the server.
II. Minimum Downtime Procedure
- Install and configure CallReplay on the new server. Verify that recording works.
- Copy or move the CallReplay Calls folder to the new server, into a new folder. Exclude from copying/moving the sub-folder of current day.
- On the old server, shut down the CallReplay and CallReplayDb services and set their Startup Mode to Disabled.
- Copy/Move the Database folder to the new server, then copy/move the folder left un-copied at step 2.
- On the new server, shut down the CallReplay and CallReplayDb services.
- In the CallReplay Data Folder, move the Database and Calls folders to a backup folder.
- Move in their place the Database and Calls folders copied at steps 2 and 4.
- Start the CallReplay and CallReplayDb services.
- Review recording configuration (it has the config from the old server) and verify functionality.
- If necessary, Restore the Calls folder backed-up at step 6.
- Cleanup the old server. Do not start the old server again after the license was re-activated on new server.
NOTE
For every migration procedure, both CallReplay server versions must be exactly the same.
5 - Upgrade CallReplay
1. Upgrade CallReplay in Windows
This is a short guide which explains how to upgrade CallReplay to the most recent version. Please notice that you do not need to uninstall your current version of CallReplay, nor do you need to delete the calls history or logs which reside by default inside C:\CallReplay. You can perform a full upgrade and keep all your current settings and logs at the same time.
Compatible Windows Versions
CallReplay is known to run on Windows versions starting with, and including, Windows XP. However, for the server, the recommended Windows Server version is 2012.
Method #1: Upgrade CallReplay in Windows Manually
You can use this method to upgrade CallReplay or to install CallReplay freshly, on a system on which it wasn't installed before. In the second case, just skip the first step below. Follow the next few steps:
Step 1. Stop the associated Windows services
First, stop the following Windows services, which belong to the CallReplay platform: CallReplay Call Recorder andCallReplayDB. An example is shown in the image below:
In the case that the CallReplay Call Recorder service doesn't stop, you may need to hit Alt+Ctrl+Del, start the Task Manager and end the task CallRecorder.exe before you stop the services.
2. Download the CallReplay installer
The CallReplay setup program is an executable file. You can download the latest version from here. Save it somewhere on the hard-disk.
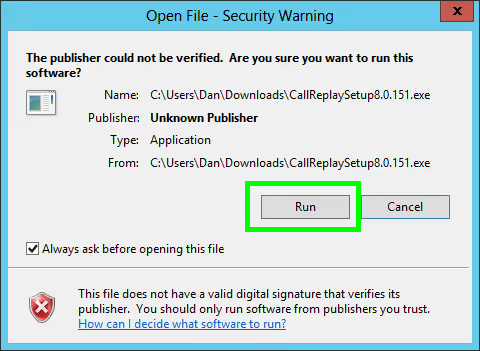
3. Run the CallReplay setup program
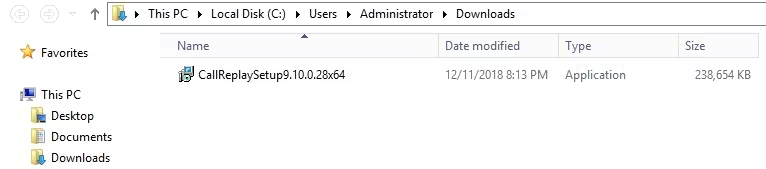
Note: Before performing this step, make sure you are logged in as a Local Account Administrator and any antivirus software is disabled. Now you need to run the installer, which may be called something like CallReplaySetup9.10.0.28x64.exe. You can do so clicking on it in the web browser downloads window or by opening the file manager, going to where the setup installer was saved (usually Downloads) and after that double-clicking the executable setup program.
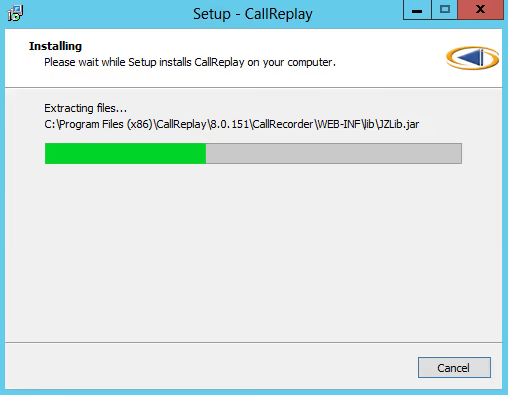
4. Let the setup wizard follow its course
The installer is automated, and you will need only to press Next throughout the wizard until the installation is complete.
You should leave the values from the Site Configuration window untouched, and then press OK:
5. Finishing the installationCallReplay v10
Once CallReplay finishes the configuration, it will open a web browser to allow you to login. If you are installing for the first time, you will need to pick an administrator username and a password. If you are upgrading, you can proceed and login with the existing account credentials.
6. Run the Forked wizard again
If CallReplay is using Forked recording, after the upgrade it may be needed to run the Forked wizard (Active recording button on the PBX) again, manually going through each tab starting with the second one (Auth & Service), using instructions from here{.external-link}.
Method #2: Installing CallReplay in Windows Using the CallReplay Software Update Utility
Important: The CallReplay Software Update Tool has been retired. Please use only the latest full .exe setups