This is the multi-page printable view of this section. Click here to print.
Backup
- 1: Backup Overview
- 2: Configuring Backup
- 3: Restore
- 4: History
1 - Backup Overview
CallReplay provides backup and recovery capabilities that allows you to create ‘images’ (i.e. files and metadata), and copy those to a secondary site for archive in case of failure. At any time, in case data must return to original condition, CallReplay can use the backups for recovery.
2 - Configuring Backup
To Backup call recordings to a local folder or a windows network share, use the Backup page.
To perform a backup
- Go to
Backup > Backupmenu. - Click
Start.
Before doing a backup, ensure everything is in place in terms of configuration.
Backup Options
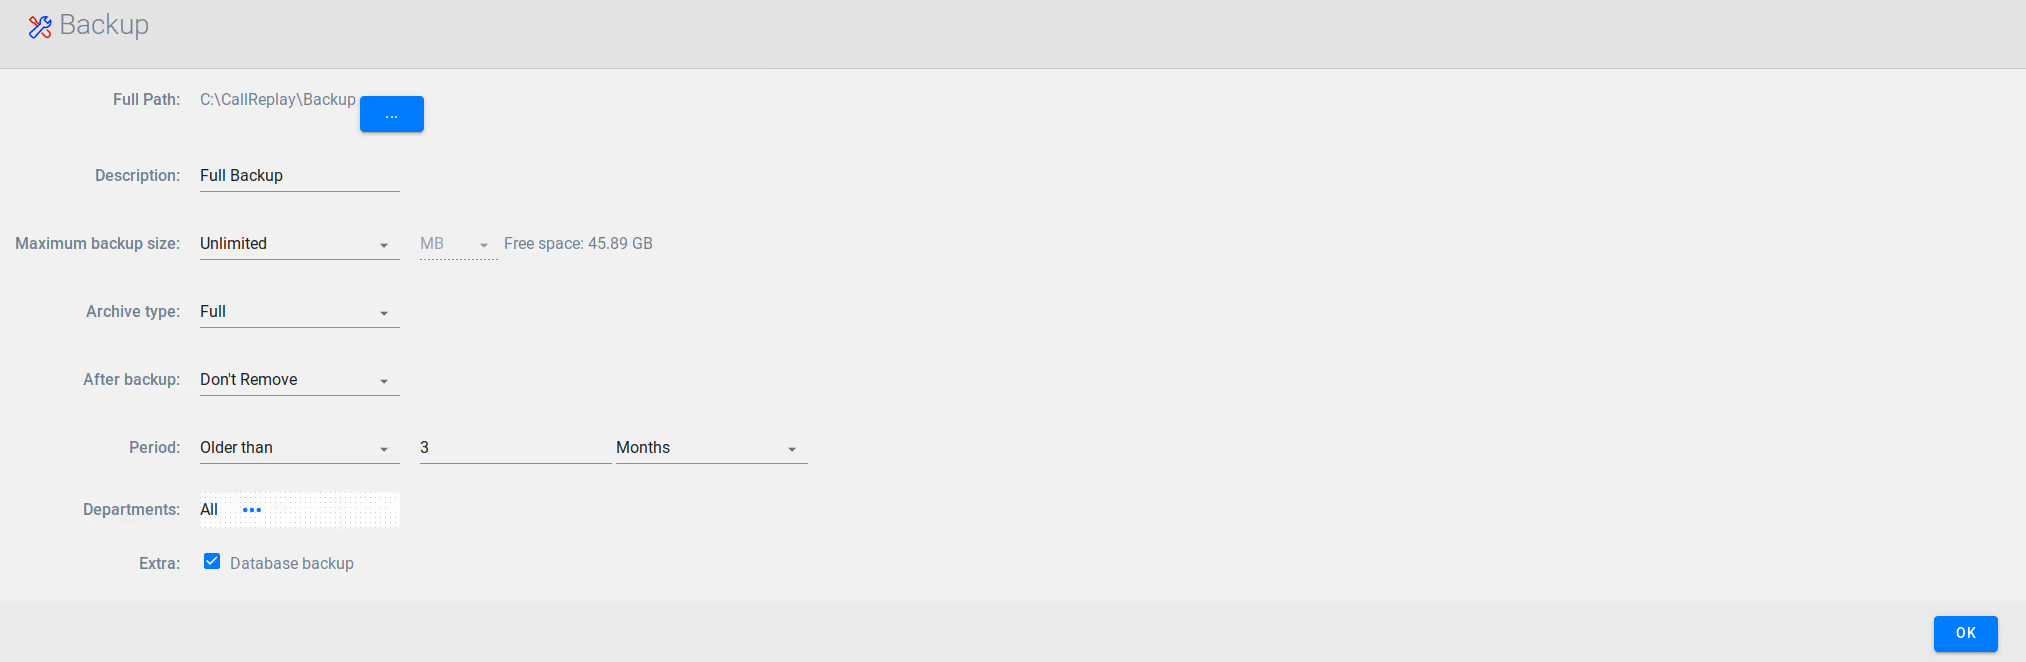
In the above image, you can see the backup page, which contains the backup options.
- The** full path** is the location where the backup will be done. Pressing the "..." button, will focus the backup root directory to be changed.
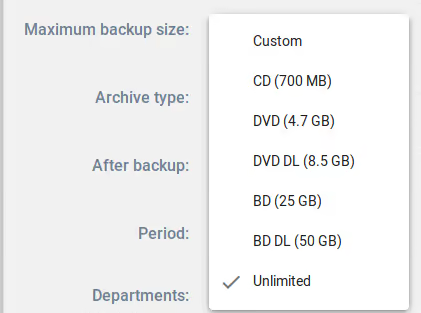
- The maximum backup size is a value that limits total call recordings backup size (example: to fit some external disk)
- The archive type can have one of the following values:
- Incremental - only calls that haven't been backed up will be included
- Full - all calls will be included ( other filters applied)
- After backup, you can choose three options:
- Don't Remove - calls will remain in the database and on disk as they are
- Remove File, Keep Call Info - will remove the recording files, but will keep the calls in the database, and will not allow you to listen them
- Remove File and Call Info - will remove the recording files from disk, and remove all calls information from database
- The free space from the backup root directory is shown on the right
- The backup period has three choices:
- Any calls will be included
- Between - only calls that have the starting date between the two values will be included. If one date is empty, then only one date will be used as the interval margin. (example: start date is empty, end date is non-empty, then only calls with a start date below entered end date will be considered for backup).
- Older than - only calls that have the starting date older than input value will be included
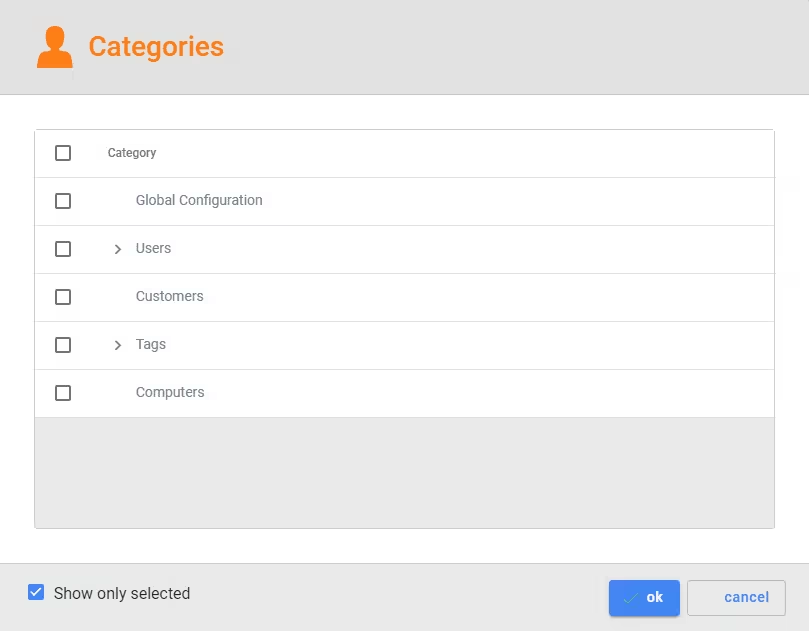
You can choose which calls to be backed up by departments, clicking the departments combo, and a pop-up will appear:
Status Tab
The status tab is visible only when the backup process starts.
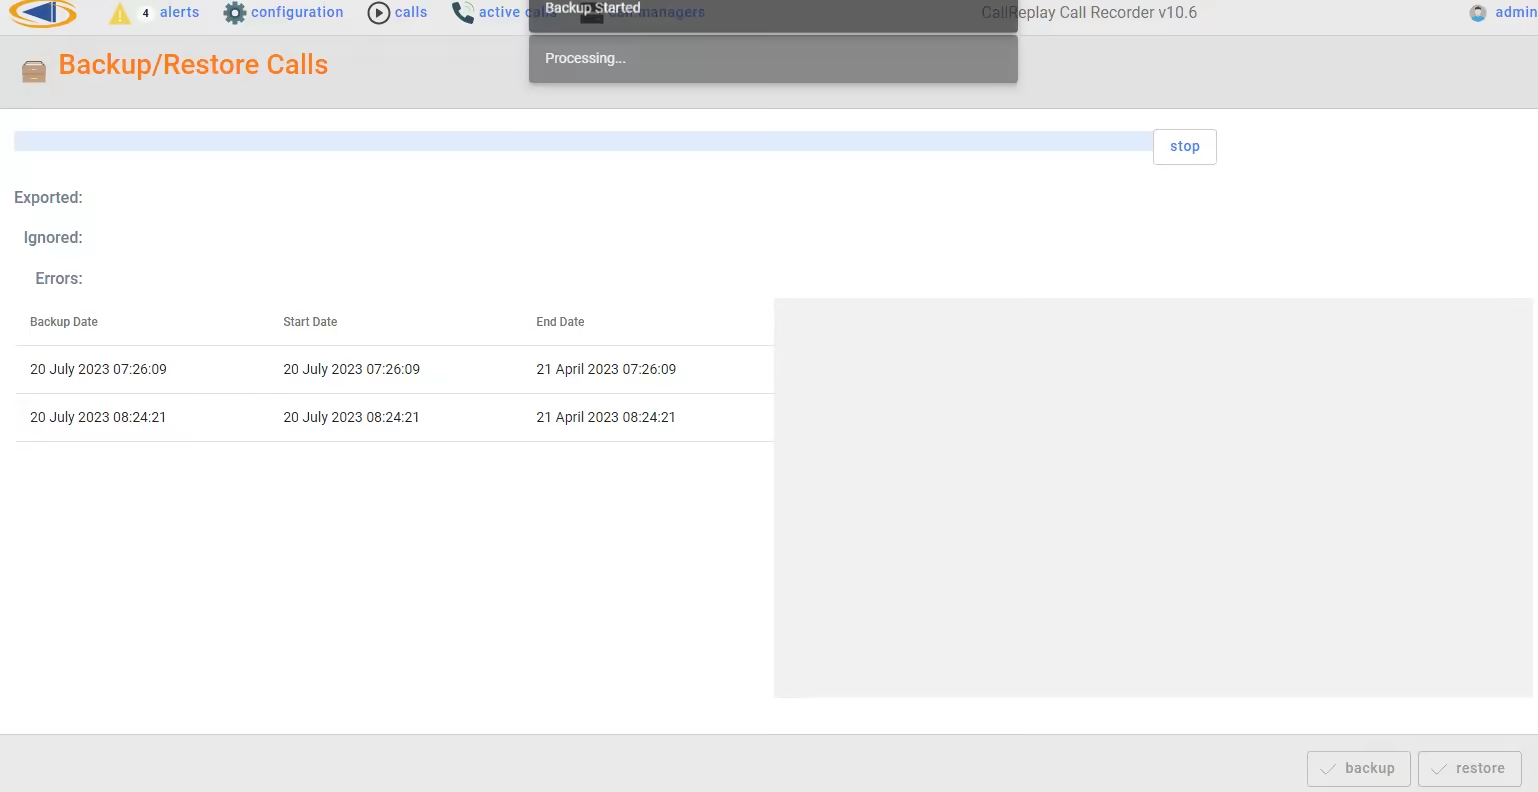
In the progress bar, processed calls and remaining calls count are shown.
The text area below shows errors occurred during backup.
3 - Restore
To Restore a backup made in a windows network share or local folder, use the Restore page.
Backup > Restore
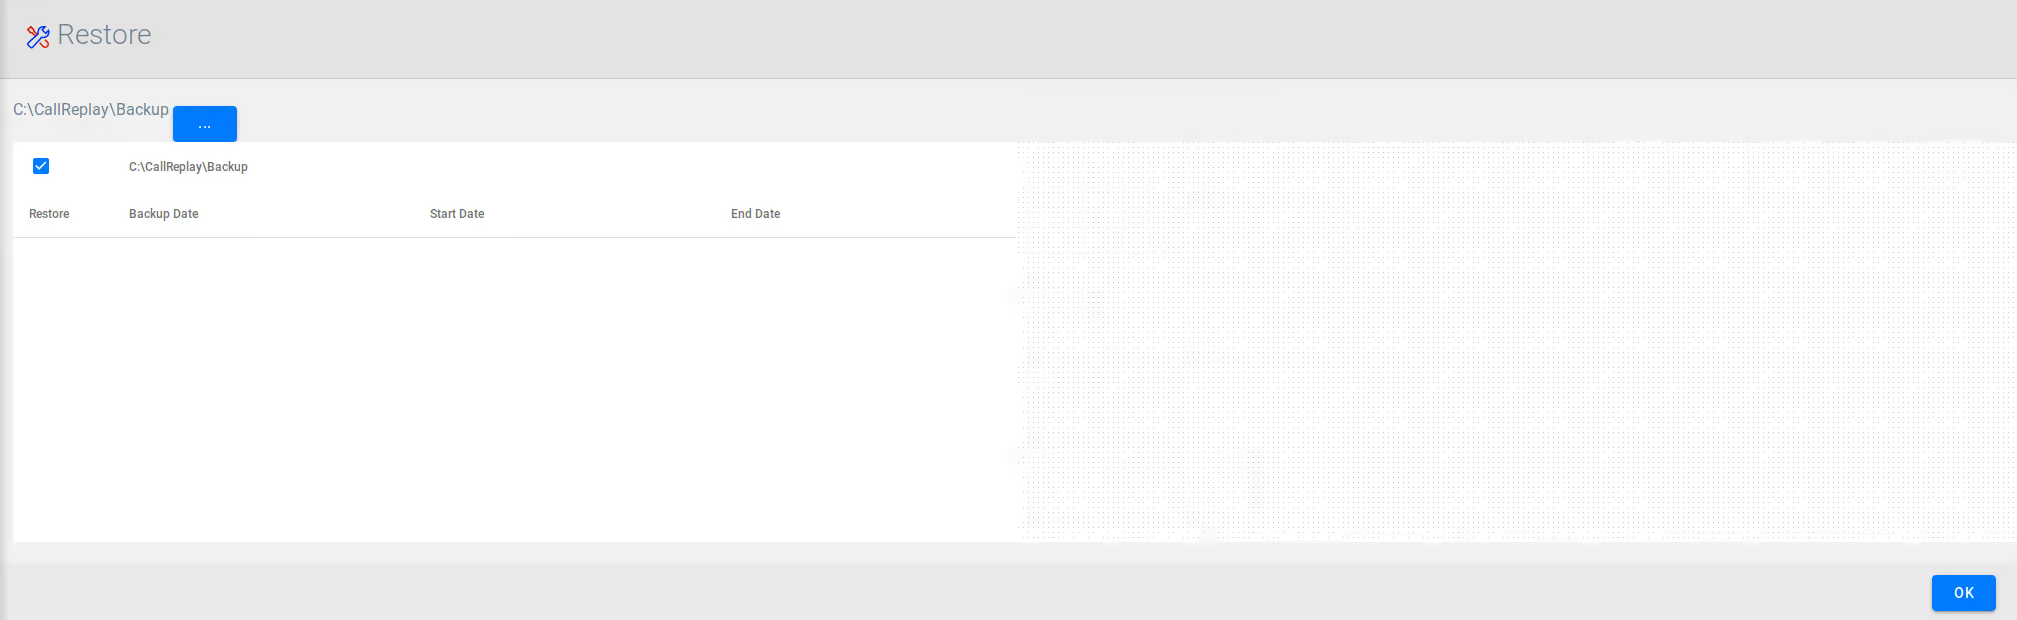
Options
To view backups, select a backup root folder or a backup folder from which to restore calls.
You can also select a location from a windows network share (following the pattern \\<server>\<path> ) and login information will be shown:
If no login information is inputted, then the default user GUEST will be used.
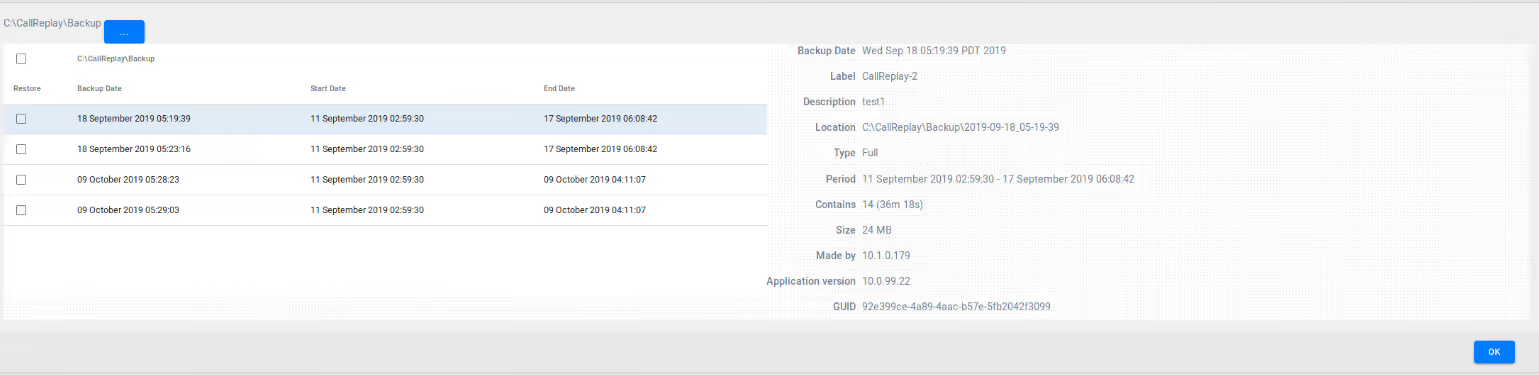
You can sort backup entries in the left grid by clicking on a column header.
In the right panel, backup details of the selected backup are shown (same as backup history).
The refresh button located right of the input directory helps rescan for backups.
You can select either to move files from the backup or to copy them.
- If move files is selected, the backup files are removed during restore process.
- If copy files is selected, the backup files remain intact.
To start a restore operation you can:
click restore button in the last column of the grid, which restores the backup form that row
click restore button from the details panel to restore selected backup
Status
Once the restore operation has started, the status tab becomes visible:
![] (/images/image-placeholder.avif)
4 - History
To view a history of backups made and their details, use the Backup History page:

The left grid shows all backups made. You can sort entries by clicking any column header.
The right panel shows selected backup details.